Attach a Tracker to a Dog Collar Safely: Check Fit With Two Fingers
Learn to attach a dog tracker with a secure mount, check collar fit, and reattach it safely while keeping ID tags and microchip details current.
Attach a Tracker to a Dog Collar Safely: Check Fit With Two Fingers
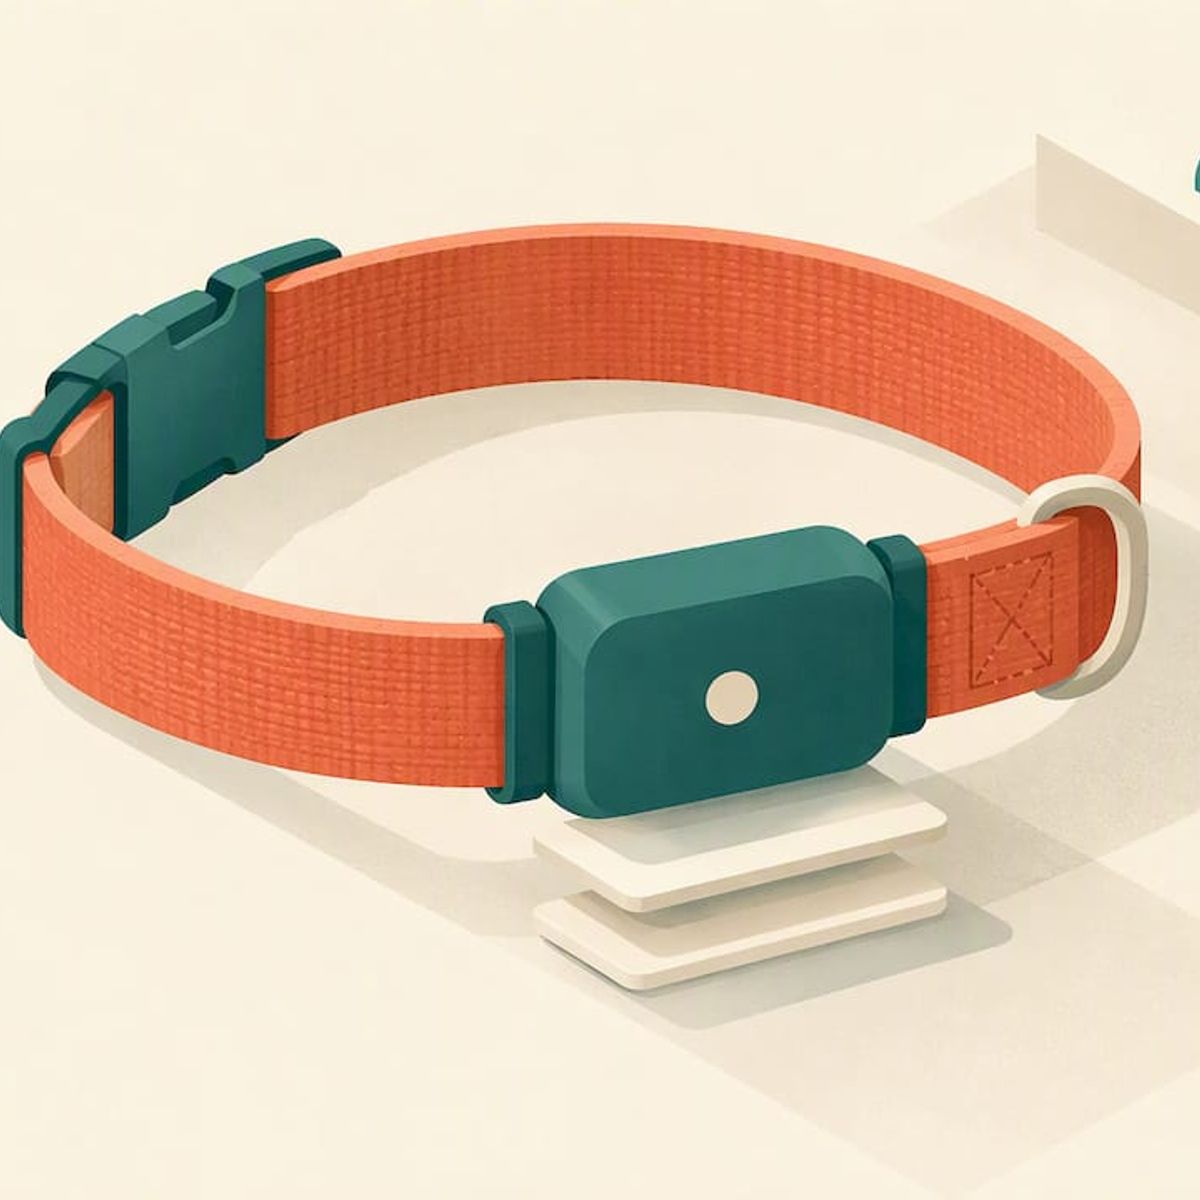
Attach the tracker with the maker-approved mount or a snug slide-in pouch, centered on the collar and set behind the leash ring, then run a short safety check. Confirm you can still slide two fingers under the collar, and keep the microchip and ID tags current. A purpose-built device like Kin One works the same way.
TL;DR:
- Measure collar width and thickness against the tracker’s specifications; padded collars may not fit slim pouches, while narrow mounts can sit crooked on wide bands.
- Use zip ties or soft straps only temporarily; trim sharp ends, avoid tight pressure, and never leave a makeshift attachment on an unsupervised dog.
- Watch your dog rest, eat, and walk after fitting, then repeat checks after play or reattachment; remove the device if scratching continues or gait changes.
- After every removal for charging or cleaning, inspect screws, seals, covers, and adapters, then refit the collar and take a short leashed walk.
- A GPS tracker can lose power, signal, or its collar, so it cannot replace a registered microchip, which provides permanent identification.
Kinwatchdog
Keep Your Dog’s Location in View
Kin One brings kids, pets, and parents onto one map with real-time location updates and no ongoing subscription fees.
Table of Contents
- What you need before you attach a tracker to a dog collar
- Four ways to attach a GPS tracker to a collar
- How to check fit after you attach the tracker
- What to do every time you remove and reattach the tracker
- Why a tracker does not replace a microchip or ID tags
- Why a checklist beats a quick fix
- Kin One on your dog’s collar, one map for the whole family
- FAQ
- Sources
What you need before you attach a tracker to a dog collar
Preparation helps prevent many of the problems people run into later. Gather everything first so you are not hunting for a screwdriver while your dog loses patience.
- The tracker, fully charged, with its cover or seal intact
- The mount, holder, clip or pouch that came with it
- The small screwdriver or tool supplied in the box, if the mount uses screws
- Your dog’s usual leash, so you can test the setup the way you will really use it
- A towel or a few treats for a nervous dog
- A small dish for loose screws and tiny parts
Collar choice matters as much as the device. A flat buckle collar is the easiest base, because it gives the mount a stable, even surface. Some collars also come with a built-in pocket for tracking tags, and the American Kennel Club notes that collars with tracker pockets exist alongside sturdy leash rings and a secure, non-constricting fit. Collars to avoid for a neck-mounted tracker include very thin breakaway-only collars that cannot carry extra weight, and collars heavy with metal studs or plates. Veterinary guidance also warns that metal-heavy collars or trackers can interfere with microchip scanning, which is one more reason to keep the setup simple.
Before you attach anything, compare your collar to the device specifications. Measure the collar’s width and thickness, then check them against the range the tracker and mount support. A mount designed for a narrow band can sit crooked on a wide one, and a thick padded collar may not fit inside a slim pouch. Treat the tracker, the attachment and the collar as one system, the way practical fitting guidance recommends: supported width, supported thickness and the correct orientation all have to line up.
Finally, introduce the gear gradually. Veterinary guidance recommends bringing new equipment into a safe, quiet space so your dog can sniff it, get used to its weight and relax before any active use. Let your dog investigate the tracker, reward calm behavior, and only then start the attachment.
Four ways to attach a GPS tracker to a collar
Pick the method your device and collar support, in this order of preference: maker mount, slide-in pouch, built-in pocket, and last, a short-term strap. Whichever you use, the placement rules at the end apply.
Method A: the maker-supplied clip or mount
This is the most secure option because the mount was designed for the device. Work on a table, not on a wriggling dog.
- Take the collar off your dog if the mount cannot be fitted while it is worn.
- Line the mount up with the collar so it sits flat and square on the band, centered on the width of the collar.
- Tighten the screws or engage the locks evenly, a little at a time, until the mount is firm but not crushing the collar material.
- Close the cover or seal and confirm nothing is loose, cracked or unevenly seated.
- Put the collar back on your dog and run the fit checks in the next section.
If the mount wobbles on the table, it will wobble on your dog. Fix it before the collar goes back on.
Method B: a slide-in pouch or sleeve
A pouch is a good choice when your collar has no tracker pocket and you want to avoid hardware. Slide the pouch onto the collar, then seat the device inside it. Center the device across the collar and push the pouch all the way on, so it cannot creep toward the buckle. A well-fitted pouch keeps the tracker from pivoting, and it leaves clear room around the buckle so the collar can still be opened and closed easily. If the device spins inside the pouch or the pouch slides along the collar, the fit is too loose for that collar.
Method C: a tracker pocket or integrated collar
Collars with a built-in pocket are the simplest setup. Open the pocket, seat the tracker fully so it cannot shift, and close the flap or fastener. The device should not rattle or tilt when you shake the collar gently. Check that the pocket sits on the band away from the buckle and the leash ring, and that closing it does not pinch the device against the collar.
Method D: short-term attachments, emergencies only
Zip-ties and soft, nonabrasive straps can hold a tracker in a pinch, for example when you have to head out and the proper mount is missing. Treat these as temporary. Use a soft strap in preference to a hard plastic tie, which can chafe skin and fur, and never over-tighten, because pressure on the neck is the exact risk you are trying to avoid. Trim any sharp tails so they cannot scratch, and swap to a proper mount or pouch as soon as you can. Do not leave a makeshift setup on an unsupervised dog.
Placement and orientation rules
Whichever method you choose, the position matters more than the hardware:
- Keep the tracker behind the leash ring, so the ring stays the highest, outermost point and takes the pull of the leash.
- Center the device across the neck, not off to one side where it can twist the collar.
- Make sure nothing protrudes toward the throat or jaw. A device that nudges the throat or jaw when your dog turns its head is in the wrong place.
- Leave room around the buckle and any ID tags, so they can jingle freely and the buckle can be opened quickly in an emergency.
For a first check, walk your dog around indoors. Watch for the tracker rotating around the neck, sliding toward the throat or hanging heavily on one side. Then take a brief leashed walk, since leash tension is what reveals orientation problems that sitting still hides. If the tracker shifts or touches the throat, stop and reposition it before going any further.
Pro Tip: Photograph the finished setup from the side and from the front while your dog stands still. After any removal or recharge you can match the photo to confirm the tracker is back in exactly the same position.
How to check fit after you attach the tracker
Adding a tracker creates a new combined collar system, and the extra weight and bulk can change how the collar sits. Texas A&M veterinary experts point out that because trackers are electronic accessories, correct fitting matters for data accuracy and for limiting discomfort from the device’s weight. So re-verify the fit with the tracker installed, rather than assuming the collar still sits as it did before.
Run this checklist with your dog standing calmly:
- Slide two fingers between the collar and your dog’s neck. The widely accepted rule of thumb is a snug fit with two fingers of room, and if more than two fingers fit, the collar may be too loose and could cause entanglement.
- Confirm the tracker does not press on the throat or jaw, and that it does not crowd the buckle.
- Make sure the leash ring is still the highest, outermost point on the collar.
- Turn your dog’s head left and right, and lower it as if sniffing, to see whether the device shifts or rubs.
Then move to a short observation phase before you rely on the setup every day. Practitioners recommend watching your dog move, turn, eat and rest with the tracker installed, and repositioning or changing the attachment if the device keeps hitting the throat or jaw, or if the collar keeps rotating. Use this timeline:
- Right away: check the fit, then watch your dog at rest, while eating and during a short leashed walk for rubbing, rotation or any change in gait.
- After a period of normal activity: repeat the two-finger check, look at the skin and fur under the device, and re-test the mount.
- After intense play, and after any removal or reattachment: run the quick checks again, because rough play is when screws loosen and mounts shift.
If your dog keeps scratching at the collar, or its movement changes, remove the tracker and rethink the placement, as fitting guidance advises.
Fit comes first: Texas A&M experts say correct fitting is essential for data accuracy and for limiting discomfort from a tracker’s weight, so a quick check now protects both your dog and your readings.
What to do every time you remove and reattach the tracker
The riskiest moment for a collar-mounted tracker is right after you take it off. Charging, cleaning and a quick swap are all chances for a small part to go missing. Practitioners recommend a full re-attachment sequence, including checking the screws, covers and adapters, every time you remove the device for charging, so it does not come loose on a walk.
Clean the collar and the device separately, following the maker’s instructions for each, and let both dry completely before putting them back together. Then follow these steps:
- Inspect the screws, seals, covers and adapters for wear, cracks or stripped threads.
- Count the small parts so nothing is left behind on the counter.
- Re-seat the connectors and the mount, making sure everything clicks or tightens evenly.
- Fit the collar on your dog and repeat the two-finger check.
- Take a short walk to confirm the mount holds, and replace any worn hardware right away.
Keep spare screws and small parts in one labeled container, and write down the tracker’s serial number somewhere you can find it quickly. It takes a minute and saves a search through drawers later.
Why a tracker does not replace a microchip or ID tags
A GPS tracker tells you where your dog is right now. It is not permanent identification. The American Veterinary Medical Association is clear that owners should keep a microchip with up-to-date registry information and make sure their pet wears current ID tags, because a tracker can run out of battery, lose its signal or slip off the collar. A microchip is permanent identification that cannot be lost like a collar, and it only helps when the registration and contact details are correct. We explain the difference in more detail in our guide to microchips versus GPS trackers.
A few simple habits cover the gaps:
- Check your dog’s microchip registration once a year. The AVMA encourages owners to do this on National Check the Chip Day and to keep contact details current.
- Keep ID tags up to date, and include the rabies and license tags on the collar.
- Keep a copy of the tracker’s serial number and account details, in case the device detaches.
Why a checklist beats a quick fix
I have watched too many owners snap a tracker onto a collar, skip the checks and then wonder why it spun around or went missing. Taking time to watch your dog walk, eat and settle can help reduce the risk of losing the device on a trail. Kin One has no monthly fees to nag at you. If anything about fit is unclear for your collar, check the device instructions first, then contact support.
— Louis
Kin One on your dog’s collar, one map for the whole family
Kin One is our GPS tracker for families, bringing your dog, kids and parents together on a shared map. Current prices are on our product page. Because collars vary so much, we publish the specifics for dogs separately, and it helps to confirm those before you buy:
- A one-time purchase with no subscription, so your dog’s tracking never depends on a monthly bill
- Your dog, your kids and your parents together on a single family map
- Collar-fit information, listed on the pets page
Check the collar-fit information on the pets page before you order, so you can assess whether your dog’s collar will carry the device comfortably.
See how Kin One fits your dog on our pets page and order it when you are ready.
FAQ
What is the best GPS tracker for dogs?
The best tracker is one that fits your dog’s collar, carries a battery you will actually keep charged and does not lock you into a recurring bill. Check the supported collar width and the attachment method before anything else. Our guide to choosing a GPS tracker for dogs walks through the features worth comparing.
How do you attach a dog tag to a collar?
Slide the tag’s ring onto the collar’s D-ring or a dedicated tag loop, and close it fully so it cannot twist open. Keep the tag away from the tracker so the two do not rub together. Check it whenever you reattach the tracker.
Can I implant a tracker in my dog?
A microchip is a permanent implant, but it is an identification chip rather than a live GPS tracker. It cannot show you where your dog is right now. A collar-mounted tracker gives live location, and the AVMA advises keeping a registered microchip alongside it.
How do I attach Tractive GPS to a collar?
Follow the maker’s own instructions for that device, since mounts differ between products. The general approach is the same as above: secure the mount, center it behind the leash ring and run the two-finger and observation checks.
Sources
- Microchipping: FAQs for pet owners | American Veterinary Medical Association
- On the Right Track: Activity Monitors for Pets - Veterinary Medicine & Biomedical Sciences
- Dog Tracker Collar Fit | DogSafe
- Finding and Choosing the Right Dog Collar for Your Dog
- Hossstraps